Hosting Content on Cloud Connect
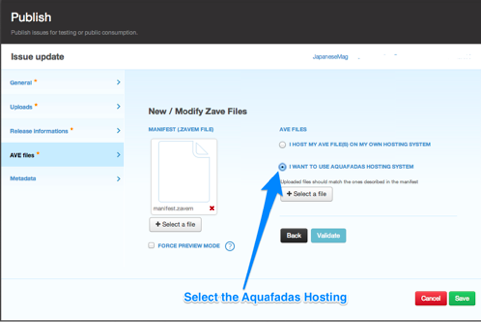
During the creation of your publication, you will have the option to upload your ZAVE package to the Aquafadas Hosting System in the AVE files tab.
Once the manifest (.zavem file) has been uploaded, select the Aquafadas Hosting System option by clicking on the radio button.
You can then upload your complete ZAVE or ZAVE with progressive download.
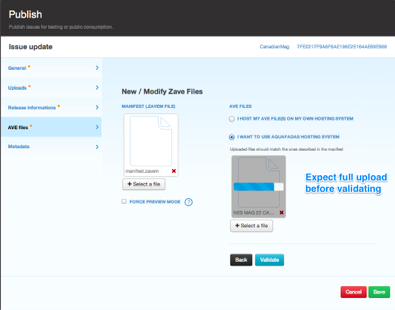
To select your complete ZAVE file, just click on it.
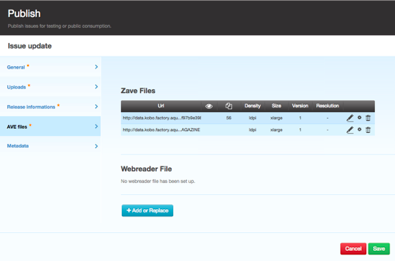
Once upload is complete, click Validate. You will then be able to view the information that corresponds to your ZAVE.
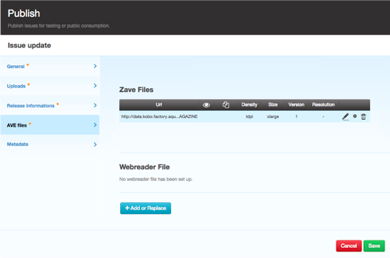
If you only have one complete version of your ZAVE to host, you can now click Save to finish preparing your publication.
Alternatively, if you have a ZAVE with progressive download to host, you will need to click on Add or Replace, to create a new Aquafadas hosting.
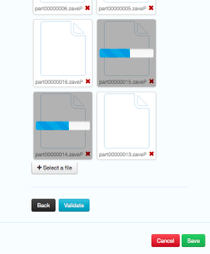
Select the manifest.zavem file of your progressive ZAVE. You can then select the ZAVE and all its parts for hosting.
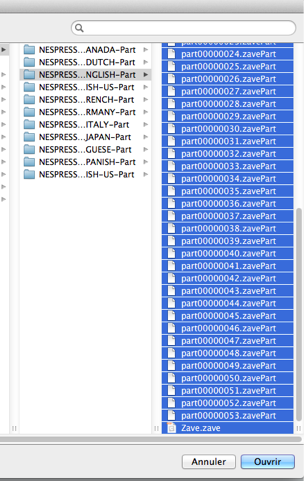
Wait for all elements to be fully uploaded before clicking on Validate, then click Save.
If your publication has a complete ZAVE and a ZAVE with progressive download, you will be able to see 2 sets of information in the AVE files tab.
Once the manifest (.zavem file) has been uploaded, select the Aquafadas Hosting System option by clicking on the radio button.
You can then upload your complete ZAVE or ZAVE with progressive download.
To select your complete ZAVE file, just click on it.
Once upload is complete, click Validate. You will then be able to view the information that corresponds to your ZAVE.
If you only have one complete version of your ZAVE to host, you can now click Save to finish preparing your publication.
Alternatively, if you have a ZAVE with progressive download to host, you will need to click on Add or Replace, to create a new Aquafadas hosting.
Select the manifest.zavem file of your progressive ZAVE. You can then select the ZAVE and all its parts for hosting.
Wait for all elements to be fully uploaded before clicking on Validate, then click Save.
If your publication has a complete ZAVE and a ZAVE with progressive download, you will be able to see 2 sets of information in the AVE files tab.
Customer support service by UserEcho
