Generating and testing a ePub file
1. In the export window you choose ePub.
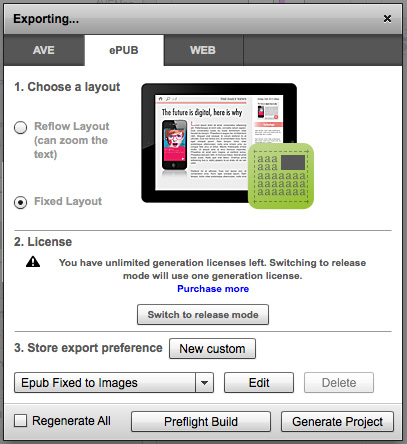
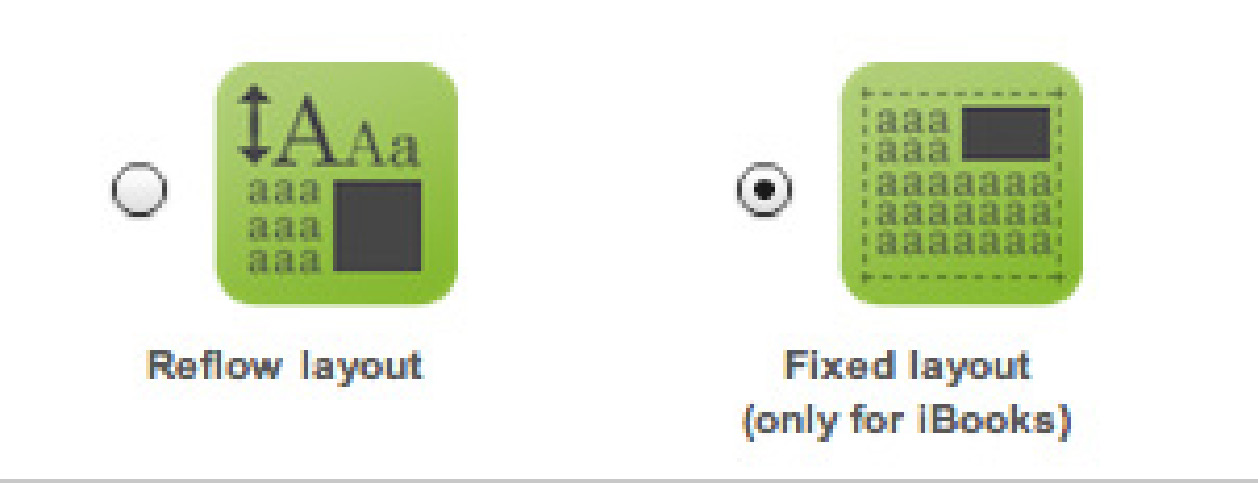
2. Choose Reflow or Fixed Layout.
Note: When you export an ePub3 fixed layout file, the first 3 pages will be generated, and the rest of the text will be scrambled on all the following pages. Watermarks
will be added to the larger images as well.
3. When you are ready to generate the actual ePub file, you can choose the “Switch to Release Mode” button. In order for you to be able to use the “Switch to Release Mode” button, you must first purchase a licenses at http://cloud Connect.aquafadas.com/en/#/
home.
The license is connected to your Cloud Connect user name. Therefore, when you login to your account in the Project Manager panel it will recognize how
many licenses you have. Once you use a license, it will be connected to your project. This means that you can generate as many ePub files as you want
for that project.
You can then export to ePub. Remember that during this process you need to be connected to the server for fonts to be converted to Open Type.
4. You can also choose which store you are making the ePub for.
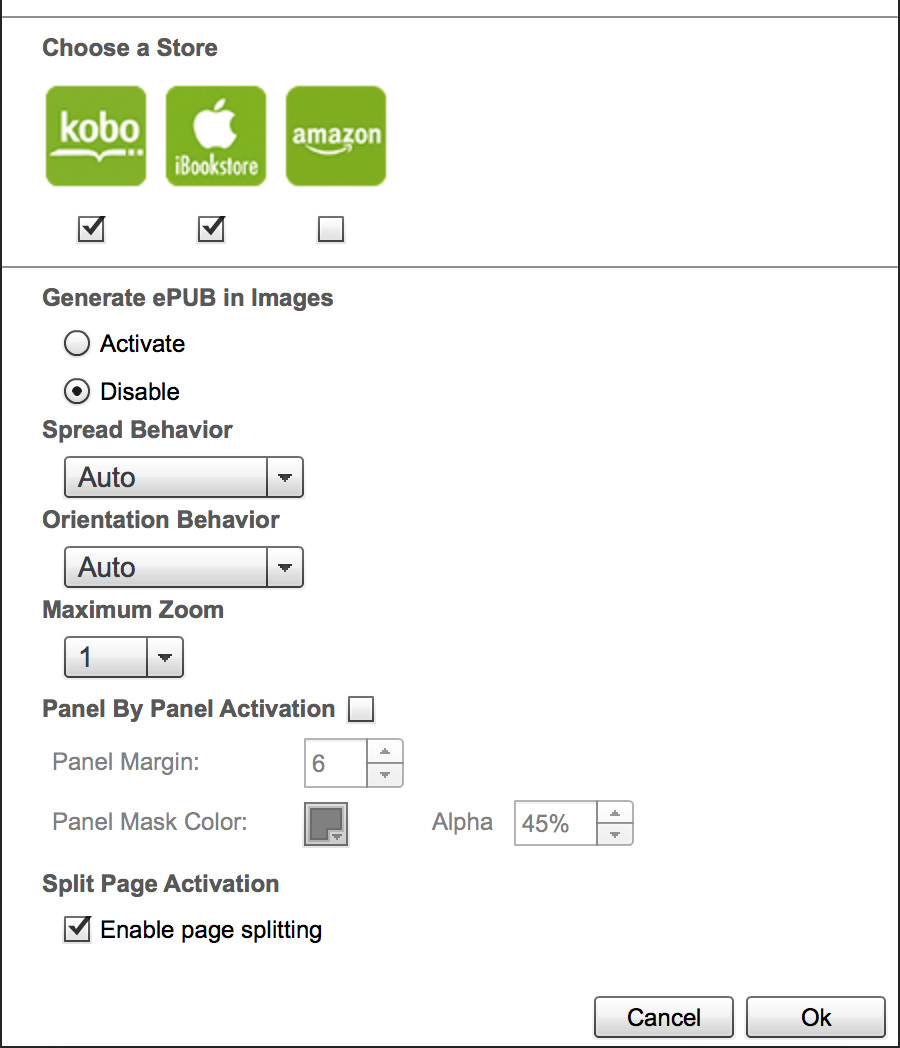
5. You can customize the Export Preference as well. This is where you can choose the “Panel by Panel” Smart Reading experience.
6. You can preview this file by sending it to the Aquafadas Viewer on your iPad.
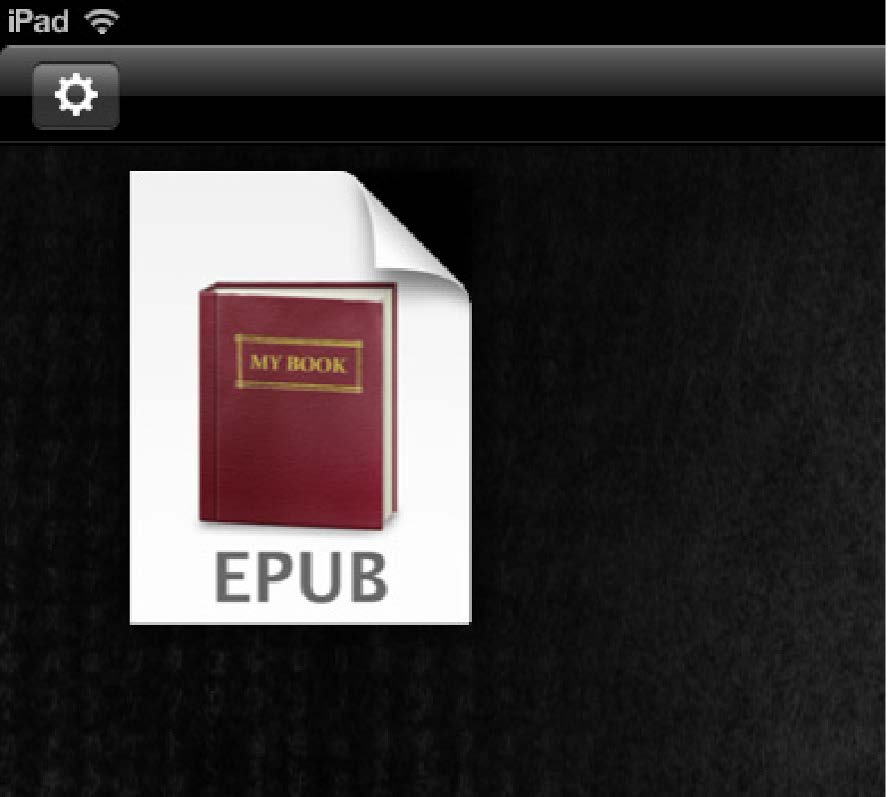
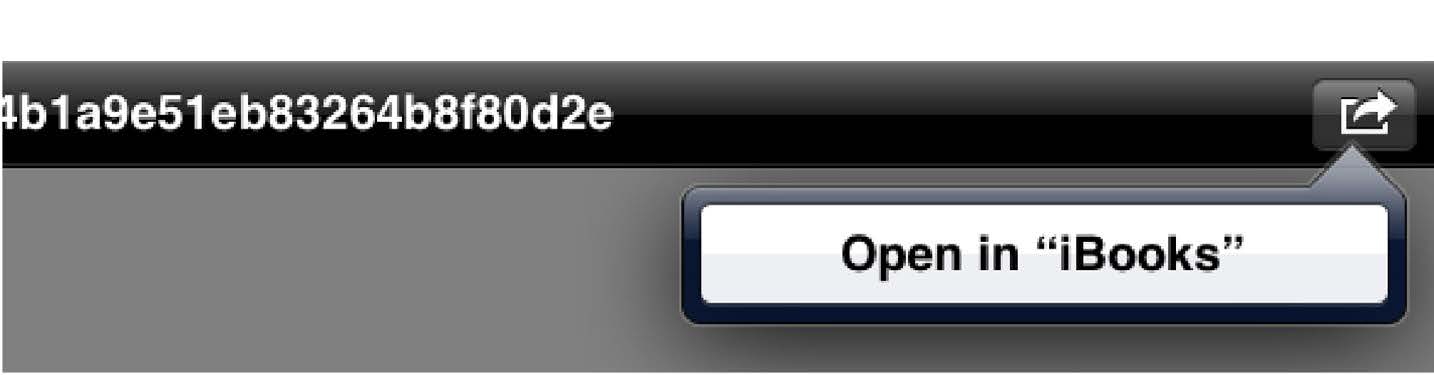
7. You can then send it directly into iBooks by clicking the “Open in iBooks” button in the top-right of the screen.
You can also “Retrieve” the ePub file and save it locally to view your ePub file in an ePub3 reader such as Readium for Chrome. Use the “Retrieve” button in the Project Manager” panel in InDesign.
Once the ePub File is generated it is yours and is ready to be published in any of the stores I just mentioned.
Customer support service by UserEcho
